
At Pippin & Gile we work hard to reduce our environmental impact, and one of the simplest and very effective ways we found of doing this during the festive session is to change our wrapping paper.
We’ve used a range of alternative options here at Pippin & Gile HQ, from summer scarves to making our own wrapping paper, using natural blocks or natural dyes.

No faff with sellotape –
Awkward shaped objects are awkward no more
Change your wrapping paper
At Pippin & Gile we’ve started using summer scarves and pashminas to wrap presents in, especially for presents within the household. Though the owner of the scarf holding the set of 1000+ screws I was given last Christmas in a metal box wasn’t entirely convinced about this plan as it had four snags at each corner when it was returned (learning point: don’t use delicate thin scarves for the heavier items).
But what if you’re posting the gift?
Old newspapers or magazines work well, especially if you can pick a relevant word or two from the headline or a photo that suits the person. It’ll be easy to find ways to address newspaper wrapped presents to Jeremy’s and Boris’s this year.
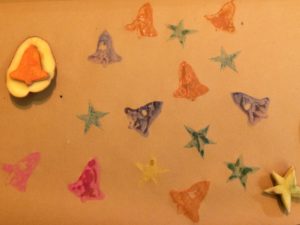
Using Water Colour Paints.
Feeling more creative? Why not make it?
Buy a roll of the brown packing paper from your post office or similar. This 6 metre long roll is recycled and due to being brown it has less of the bleaches used in many other papers too. It’s a really nice and sturdy paper, so you don’t need to worry about the sharp corners on the box you’re wrapping so much either.
Block print onto it
This could be with carefully carved wooden blocks, or for those with less time or creative skills, use those festive themed cookie cutters that seem to hide at the backs of cupboard drawers, and any old potato. Many types of paint will do.
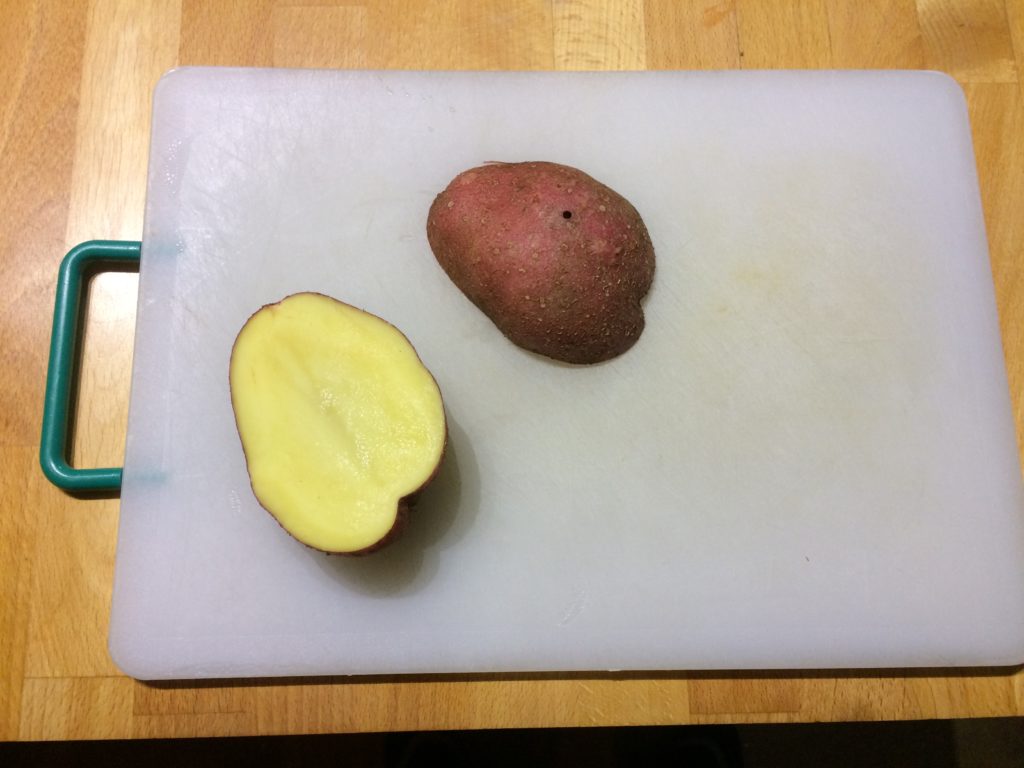
Cut the potato flat 
Cutting out the shape with the biscuit cutter 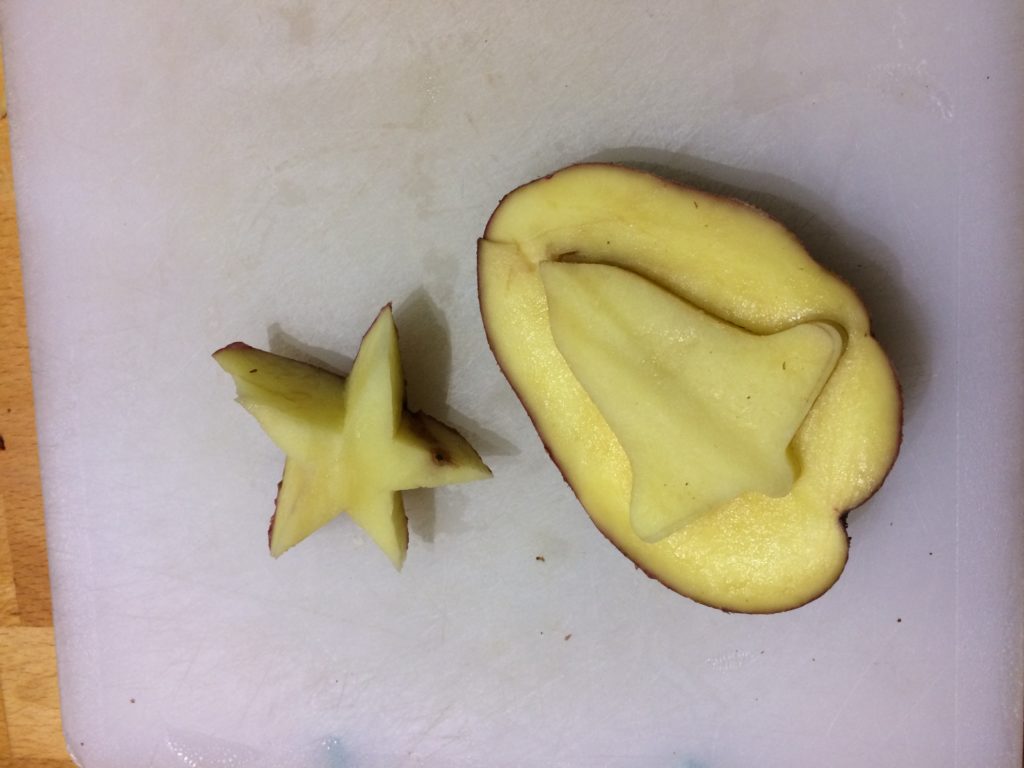
Shapes ready to go 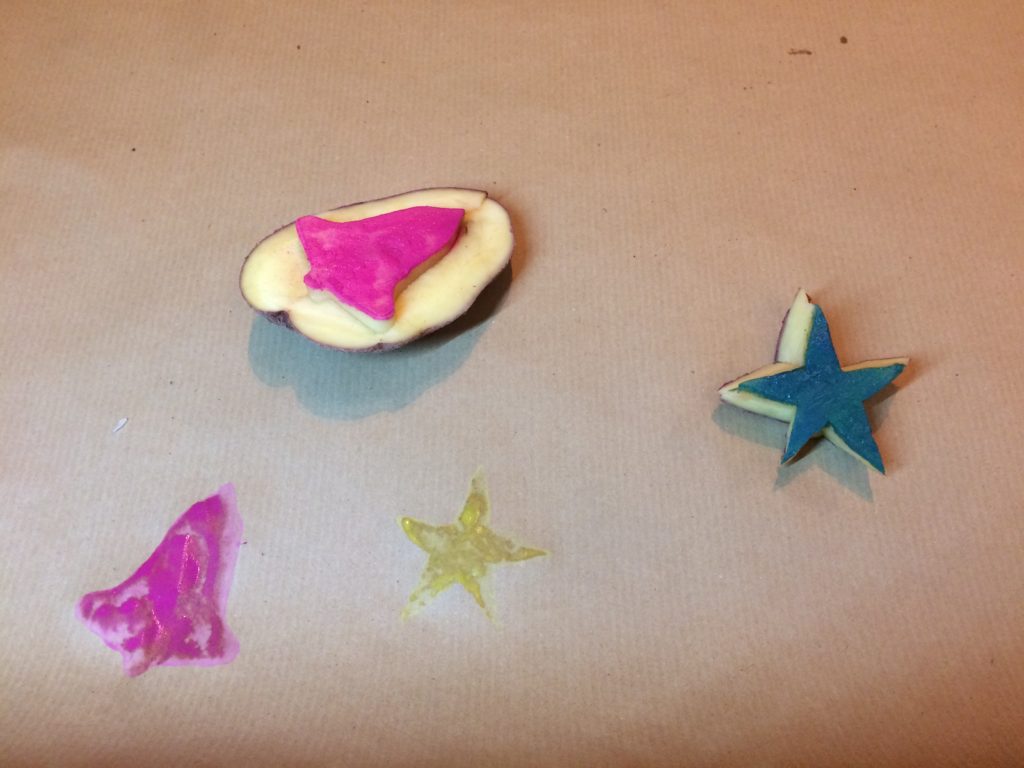
Prints starting on the paper 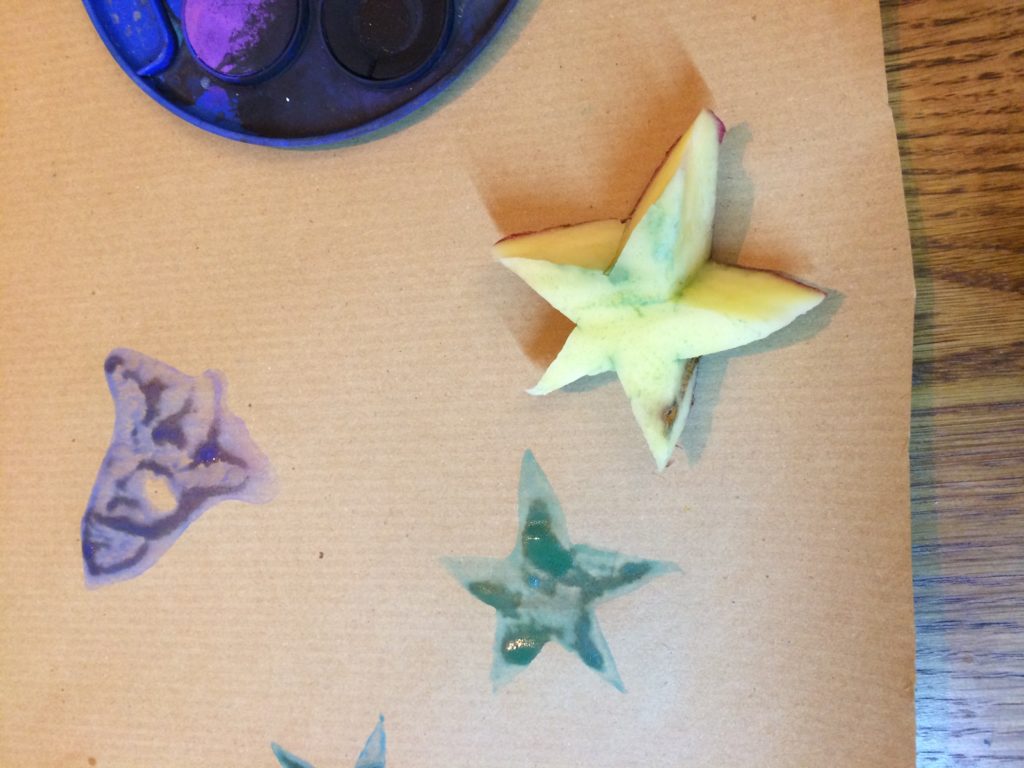
You can wash the stamps too 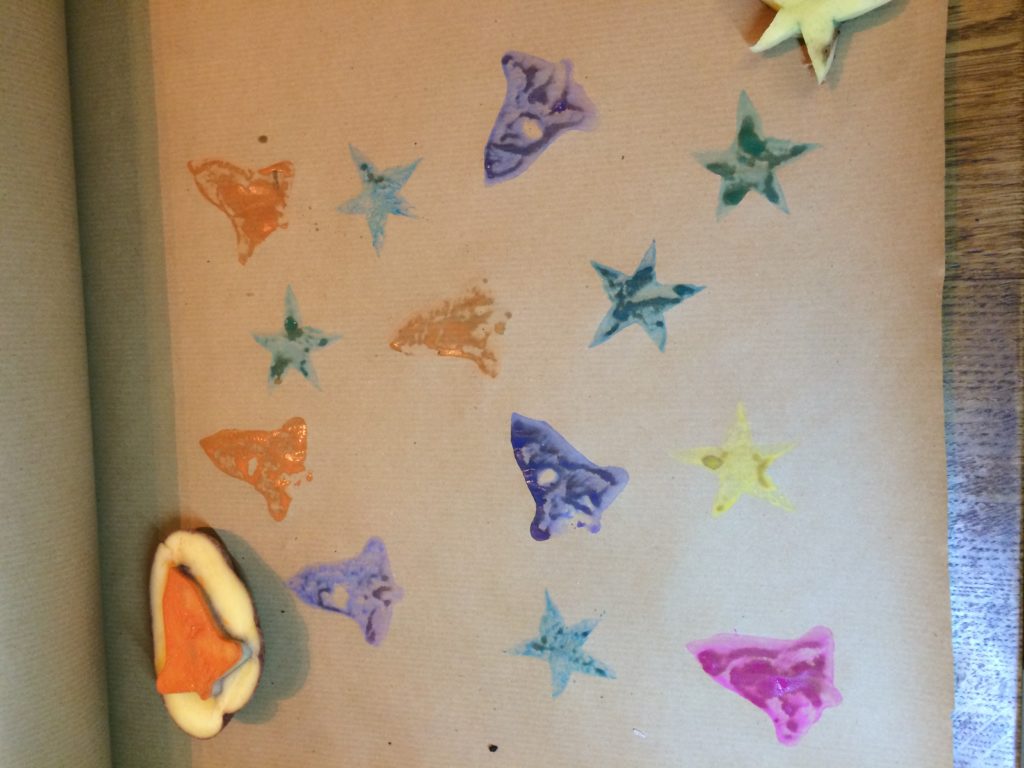
The finished wrapping paper
Try Natural Dyes
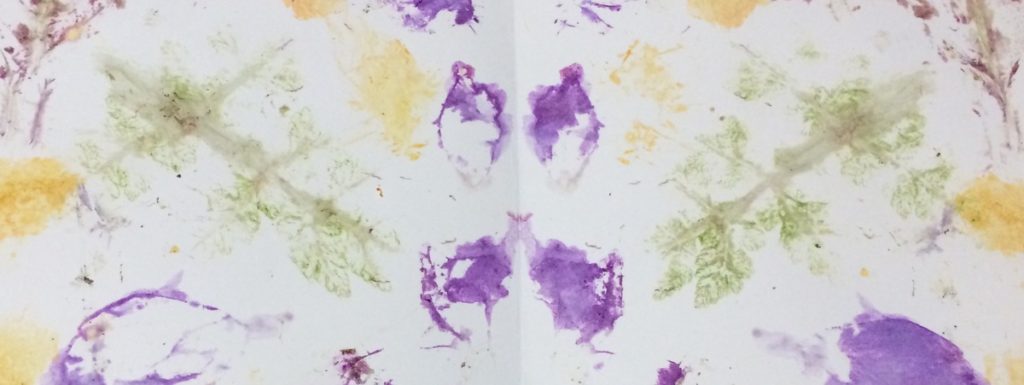
If you’re after a less prescriptive and more experimental, abstract and even more eco friendly wrapping paper, you can use natural dyes. I’ve been experimenting with natural dyes lots recently (watch this space). I really like the pure simplicity, immediate results and effectiveness of the technique described below.
On your paper lay down petals, peelings, rose hips (I cut these into slices), leaves, anything you like the look or colour of really (try and get them as flat as you can for best results). Fold the paper over to cover all the items, and bash gently with a wooden or rubber mallet. You’re aiming to squeeze the colour out of the items but not macerate them into the paper.
I’ve also done this on white card to make greeting cards as well as onto the brown paper for wrapping paper. The colours changed in tone over the first few days but retained a remarkable vibrancy after this.
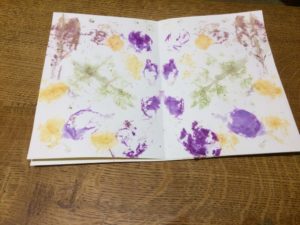
cornus, rose petal and rose hips.
Be aware that you may not get the colours you were expecting. Rose hips gave me the orange of the inside not the reds of the outside, and left a pretty but shapeless smush on the paper. The rose petals I used started life dark red, but left a rich emperor purple on the paper. Leaves worked surprisingly well, and maintain their shape in the colour transfer but be careful that they stay in one place as you hammer, and you’ll need to hit quite hard, it is a careful balance though.
Cornus, Cow Parsley, and Maple all worked well for this technique. I find that sometimes the leaves transfer better onto one side of the paper than the other. If you find after bashing that you have some blank spots, no worries, just add a bit more foliage and bash some more.
Happy bashing and please share your results on our facebook, twitter or instagram pages.

Great article! I particularly like the comments over colour change and I think that I have an answer – paper is not pH neutral. My explanation from what you have said that it is slightly alkaline hence the red to purple for the rose petals. Try lemon juice if you have a spare piece of paper, I predict a return to red.