

We’ve looked at how to make tripods and rafts, but these all need string or cordage, so how do we make cordage? In this article I’ll show you how to make your own natural cordage from nettles.
Cordage would have been incredibly important to our ancestors, Otzi the Ice Man – a frozen body from around 5000 years ago recently found having melted out of a retreating glacier in Italy has lime bark cordage on his person. Lime bark cordage is incredible strong and durable, but does require about six weeks of retting – leaving it to soak and the layer delaminates. Nettle cordage is also quite strong and durable, I’ve used it as the string on a fire bow previously and it’s worked well. It also has the added advantage you can make it in a day or two.
For this activity you’ll need:
- A pair of gloves
- An old towel (this is useful but not a requirement)
- A patch of tall nettles – you will only need about 5.
- A knife or pair of scissors to trim off the loose ends
- A bottle knife will be useful if doing it later in the year
To Start:

Gather your nettles, aim for the tallest ones in the bunch. I did this by uprooting them, but I was on private land. If you’re on public land cut them.
Like with all collecting make sure you’re working within the law, and don’t make a visible impression on the area where you’re gathering. Leave lots for the range of insects that are supported by nettles. We have an article about foraging and the law here.
You will only need about 5 nettles to get to grips with this project. More will give you a thicker or longer piece of cordage.
Now you want to de-leaf and de-sting your nettles.

As my eyes took in these wonderful signs of the seasons turning, my ears heard the new depth to the range of bird calls. Out of the growing chorus I first identified the great tits, calling their repetitive squeaky bike pump call. The blackbirds’ song has a new urgency and depth to it, and is being sung right into the dying embers of dusk, competing with the tawny owls and the screaming vixens.
Rubbing the nettle firmly breaks the stinging barbs. You’ll have to pick off a few leaves that have stayed behind. I’d recommend doing this with the towel or gloves still on at this stage. Once all the leaves are removed rub your hand up the length of the nettle again. Always work from base to tip – as otherwise you can kink the nettle.
If you up rooted your nettles cut off the roots.
Now all your nettles are ready for the next stage. Nettles have a square stem structure.

At the base of the nettle split one side of this open and flatten out the nettle. Work your way gently up the stem ensuring the split stays in the middle.
In late summer once the nettle has gone more woody a butter knife might be helpful to open up the segments but in spring time thumbs will work fine.
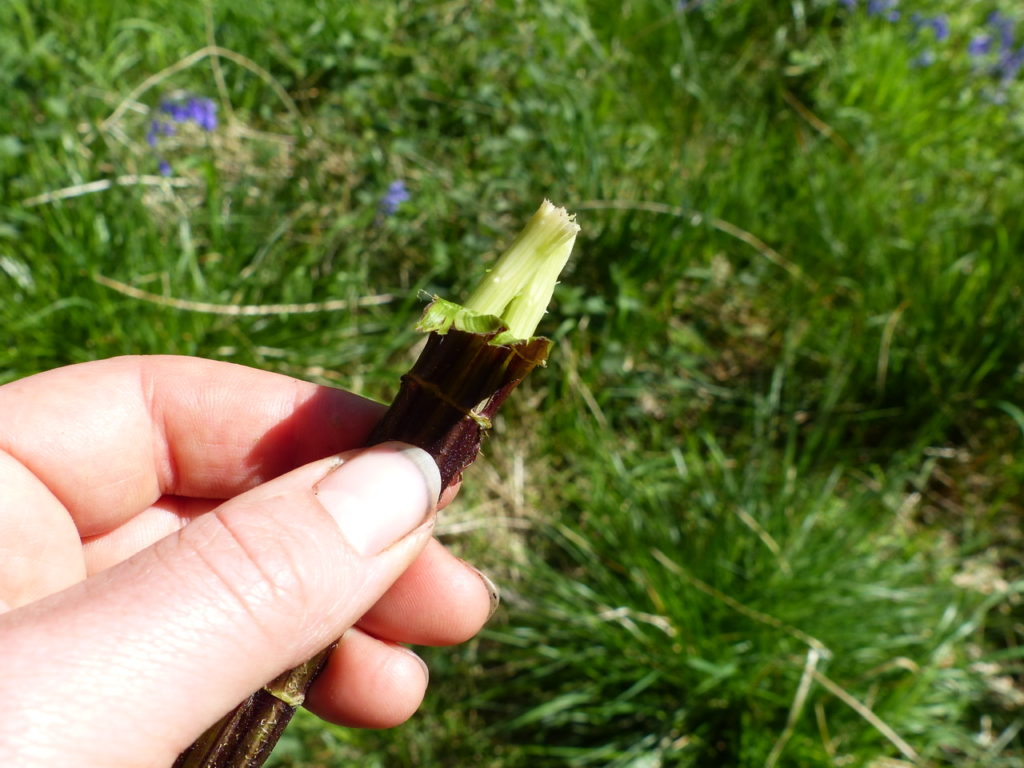
You’ll have seen the “skin” of the nettle start to delaminate slightly off the “woody” centre. This is what we want to achieve. Start at the bottom and peel away the outer skin off the central core of the nettle.
With the sap so high, at this time of year, this should be a very easy job. Continue this separation up the whole length of the nettle.

Check the inside of the nettle “skin” over for any left over inner “woody” material, and flick it away if you find it. This “woody” core dries to brittle and will add an inherent weakness to your cordage.
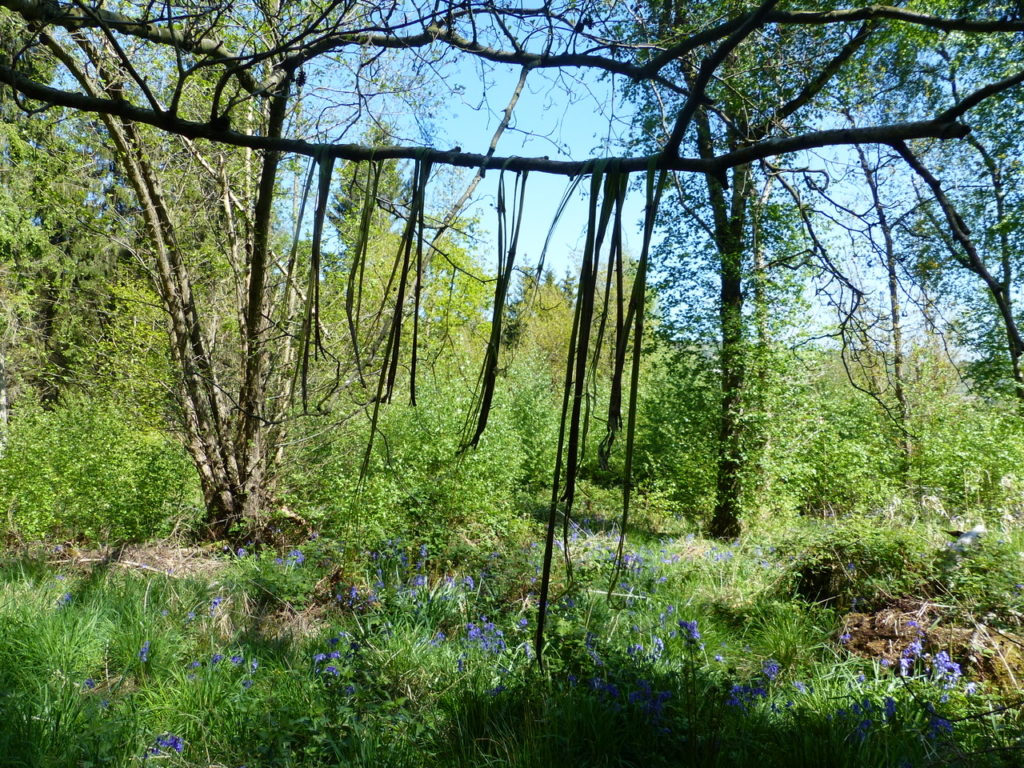
Then hang the nettle in a sunny place to dry. Repeat with all your nettles. Your nettles are dry enough when they sound like tissue paper when scrunched. This can take a few hours to a day depending on the weather.
Once your nettles are throughly dry, dampen them slightly by putting them in and immediately removing them from water. You want to lose that tissue paper sound, but not get them any wetter.
We dry the nettles as if you don’t they will shrink after you have made your cordage introducing lots of weakness.
If there are any bits of the “woody” core left on your nettle “skins” they will show up now very clearly as brittle white lines, take the time to remove all of these, flexing the skin at the tip of the woody bit is a good way to delaminate them now.
It is time to start the cording.
Get one nettle, you’ll see how much smaller it is now than before.

The four sides should be clearly segmented, in the one nettle. Split the nettle down the middle, just pull it apart gently lengthways to create two roughly equal thickness strips.

They will both taper to one end. Lay these two halves against each other, so that each side has one thick and one thin end. Stagger them so that the thick end finishes about 5cm after the thin end runs out.
Pick a spot off the centre about 1/3 of the way down one side of the material, holding the nettle in both hands start to roll the nettle in your right hand between forefinger and thumb, rolling away from you. (If you’re left handed do the same in your left hand). Keep rolling the nettle in your right hand, not letting the roll move past your left hand. Once the nettle is starting to want to kink, hold everything tight and put a small stick or skewer between your legs and loop the twisted nettle over this. Make sure the stick doesn’t have a large bump at the top as you’ll need to take it off again at the end of the process.
Lift the twisted material in your right hand over the nettle in your left hand. Swap your hands around so the left hand is now holding the material on the left (the twisted bit) and the right hand is holding the material now on the right (the less twisted bit).
Roll the material in your right hand between finger and thumb away from you (just as you did before), once it is starting to want to kink pass it over the top of the material in your left hand and reset your hands once again.
Continue this process of rolling to the right and passing over to the left.
(If you’re a lefty you’re rolling to the left and passing over to the right).
If you’ve rolled enough before passing over when you let go of your material it should all stay in place and not try to unravel.
As your cordage gets longer you will find yourself working very close to your body. Let go and wrap the cordage around the stick between your legs just like a spindle and continue in a comfortable position.
Getting to an end.
All four of your end should be staggered, when you get to your first end it is a skinny half nettle, therefore you want to add another skinny half nettle. Pause when your 3cm or so off the end of the skinny nettle and its in your right hand.

Pick your next nettle and split it lengthways in half, like you did with the first one. Pick a skinny end of one of your halves, and lay it alongside the material in your right hand, ensuring that it comes about 3cm or so above the join between the left and right bits of cord, this should be sticking out to the left and underneath your cordage.

Holding the new half nettle and the worked nettle in your right hand roll the two of these together. If you had a tight roll in the worked nettle it is worth loosening this off to fully incorporate the new half nettle.
I find that putting a finger against the point where the nettle wants to be incorporated and holding it against the worked nettle helps to ensure the new nettle is fully incorporated into the roll.
Fold it over to the left and continue to work as usual. Your next join will be a thick ending you will want to join a thick to this, to ensure consistency of the cordage but you do not want to have a super thick bit in the middle, here I suggest making the overlap between the two bits of cordage shorter, to avoid a large bump. If you have no overlap it will on the surface look good, but you’ll create a very weak bit of cordage, just held together by the one skinny bit of nettle you added in the last step.
Watch out for the cordage creeping either thicker or thinner. Mine still tends towards thicker.

Keep rolling and adding until you run out of nettles or you have reached a length of cordage you are happy with. Once you reach this stage just tie a simple overhand knot in the end of the cord and snip off any loose ends.
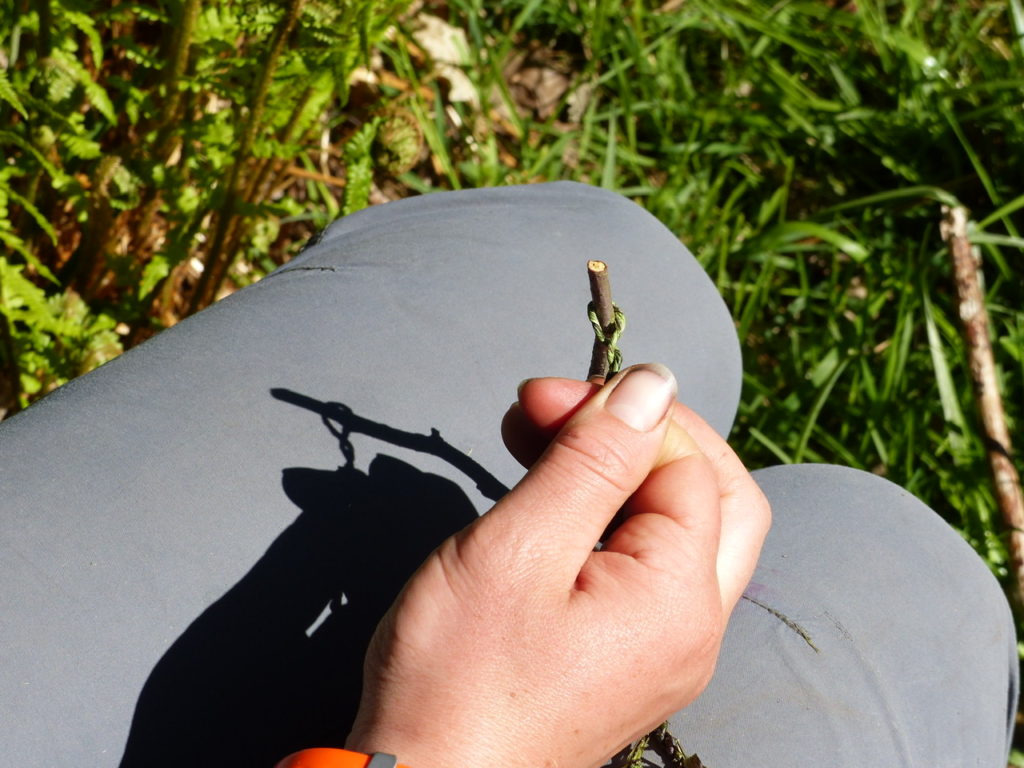
To remove your cordage off your spindle or stick unroll it and then where it it hooked just open the weave up slightly and lift it off.
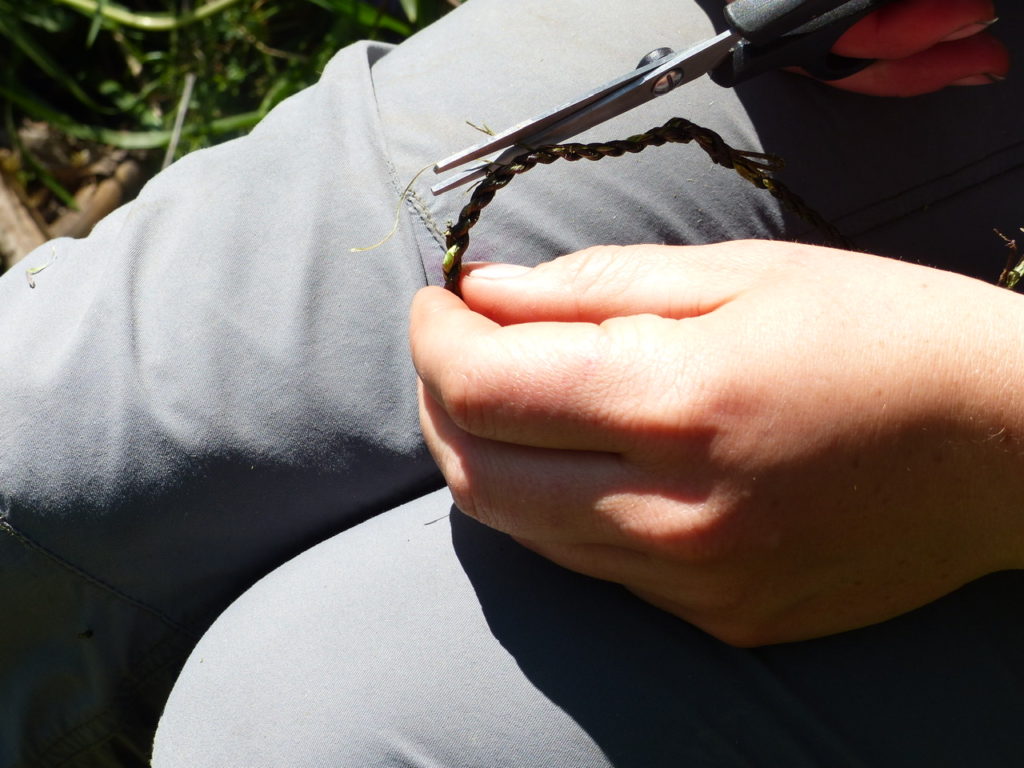
You’ll now want to tidy up the cordage, removing all the fluffy edges from where you added in more nettle, do this cutting them as close to the cordage as possible, but ensuring you do not cut the cordage.
As the cordage is moved and used you don’t want any of these ends coming loose and catching.
Well done on creating your very own cordage.
How could you test how strong it was? How much weight can it hang off it before it breaks? What about if you shock load it? What if the weight is falling? How much does this increase the load on the cordage?
This question about falling is an important one that lead climbers have to take into account when they are placing their protection, as the further they fall the larger the strain on the last piece of protection is.
This blog was first written as an activity in Lizzy Rambles – a regular downloadable activity pack with a competitive game of I-spy the plants and an activity to do in each one.
To stay up to date with Lizzy Rambles sign up to our email list here.
Send me photos of your cordage, and what uses you have put it to.
-
 Foraging Course – Gift Voucher£110.00
 -
 Family Bushcraft Day – Gift VoucherPrice range: £85.00 through £100.00
 -
 Weekend Bushcraft Course – Gift Voucher£225.00