

The Base
In this three part guide we will take you through the steps needed to make a bramble basket. You will need a large bramble patch, with a lot of new growth on it. In the second year you get side shoots growing and the bramble becomes too woody, you also get the delicious blackberries on this second year growth too.
I had a large bramble patch growing though some brash in my woods so didn’t have any issues with finding plenty to work with.
Removing the thorns and leaves is quite easy, just run the bramble though your gloved hands and remove the sharp ends of the thorns and leaves this way. Be careful to only pull and not push the bramble through your hands as this can cause it to kink. I tended to do a batch, work on my basket for a while and do a further batch, this way I was only dethorning the brambles I needed to use.
-
 Autumn Foraging Course£110.00
 -
 Basket Weaving Course£110.00
 -
 Progressive Basket WeavingPrice range: £80.00 through £425.00
You will need:
- Lengths of brambles without side shoots.
- 8 approx foot long similarly thick shoots, be careful they aren’t too woody.
- I got some of these off the same length of bramble.
- Lots of long flexible sections needed for weaving
- The runners you trip over on a path I found were ideal for this.
- 8 approx foot long similarly thick shoots, be careful they aren’t too woody.
- Thick gloves
- Sharp Knife
- Secateurs
- A strong stick sharpened to a point or wedge is very useful too, or a bodkin if you happen to have one of those…
Time needed: 1 hour and 30 minutes
- Get 4 of your 8 foot long lengths (base rods) and split them in the middle,
be careful the split doesn’t run off the centre.

- Feed your other 4 base rods into the split ones,
use your pointed stick to help with this.

- Cut off one end of a non split base rod.
This gives you an odd number of spokes.
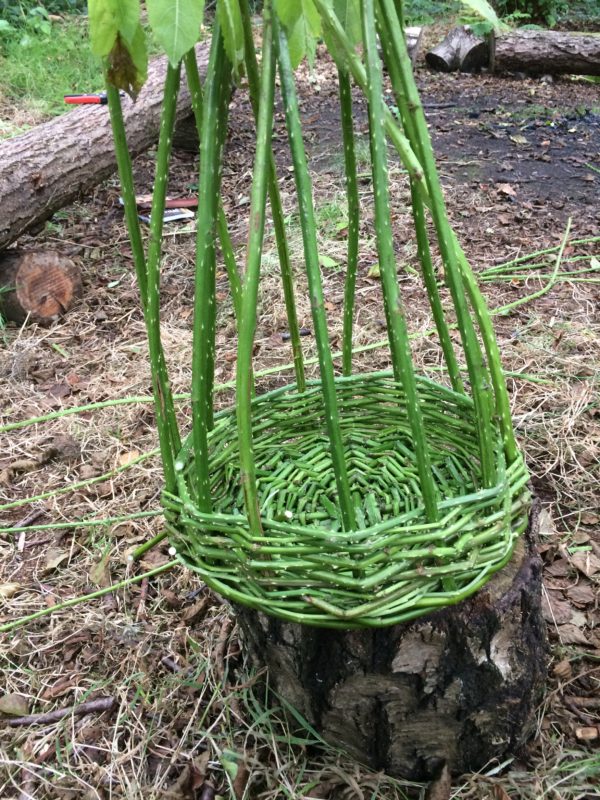
- Kink the base rods, to bend them out to form even spokes,
be careful not to split the outer skin as you do this, they will bounce back – don’t worry about this yet.
- Now to start the weave.
Using a thin flexible bramble, tuck the thin end of the bramble into the spilt the rods are going through.
- Weave the bramble around each individual spoke, over one, below one.
Recreating that shape of the even spokes as you go.
- As the bramble gets too thick to work, or you reach the end of the bramble, tuck it behind a spoke and cut it off at an angle.
- Start with a new bramble of a similar thickness, working the thick end to the thin end this time.
This creates a constant wave of bramble thickness rather than jumping from thick to thin.
- Keep the weave as tight as possible, you’re using green brambles so it will shrink considerable as it dries.
- Don’t worry if your basket base starts to get a slight concave shape to it.
This will actually help it to sit on the ground later. Try to end and start your bramble rods on the inside of your basket.
- Continue this weave, positioning the rods evenly around the basket base like spokes.
Stop when you’ve got about an inch left on each rod. Ideally end with a tip rather than a base and tuck this in behind the last weave.

- Continue to part two to find out how to make the walls.

Basket Weaving Course
Create your very own willow basket. We take you through the entire basket weaving process from how to harvest your willow to how to care for your basket.
All of our courses are available as 24month gift vouchers which can be purchased here.
Timings: 9.30-5pm
A…
Fabulous! My intention is to follow this in the next available season when I am back in the UK. So beautiful and well described. Thank you PippinandGile.
I just added this web site to my favorites. I really enjoy reading your posts. Thanks!